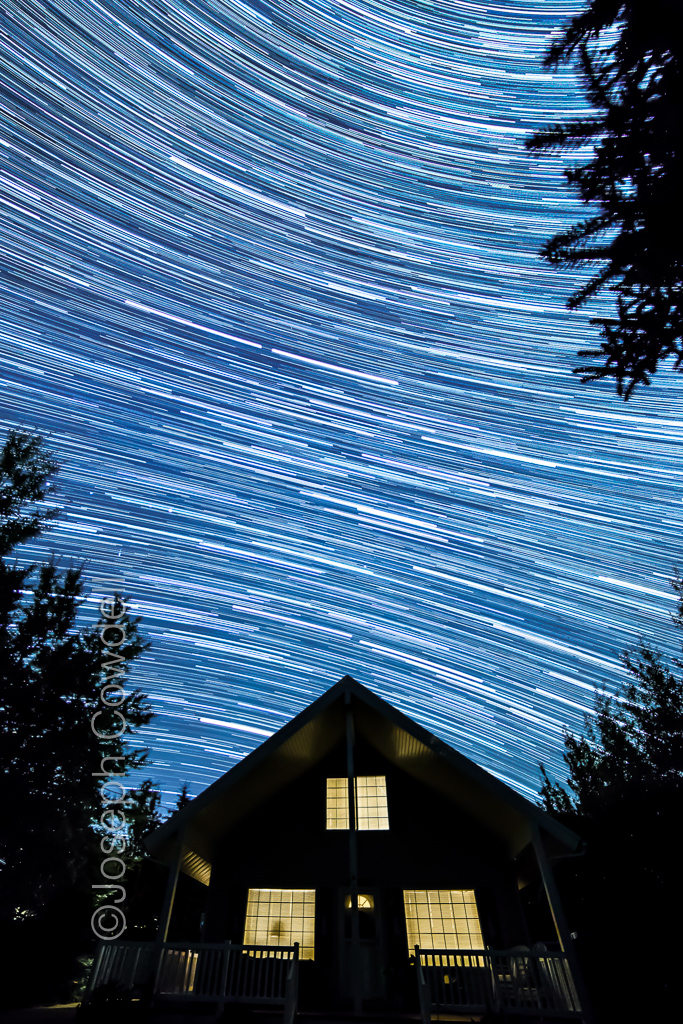
Steps for Star Trails Photography
- Focus your lens to infinity.
- Aim your lens a the sky. Pro tip: Use a sturdy tripod.
- Shoot multiple 30-second exposures. Try to shoot at least 30 minutes for best results.
- Process your images using Adobe Lightroom and export JPEGs.
- Stack the shots in Adobe Photoshop and set the blend mode to Lighten.
Be sure the sky is clear
Check if the sky will be clear and there is a new moon or no visible moon. However, rules are made to be broken, and clouds may add some drama to your photos.
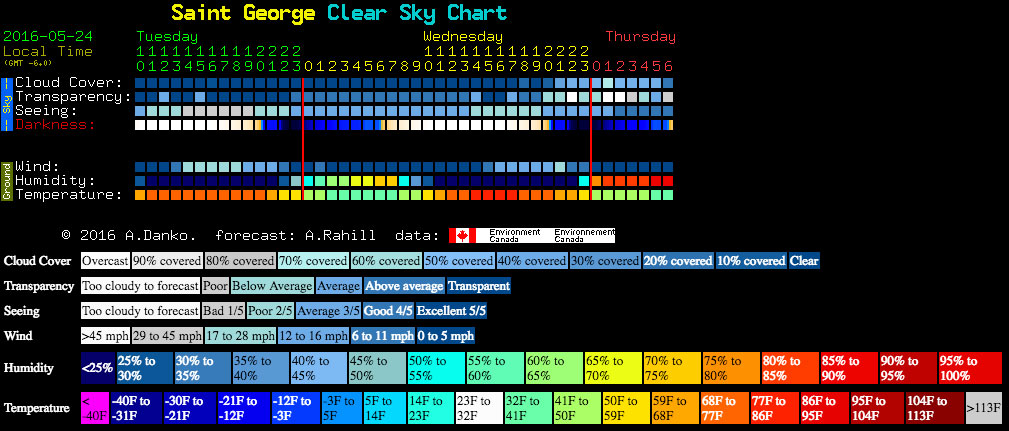
You can check the clear night skies forecast at Clear Dark Sky
Clear Dark Sky for St. George, Utah
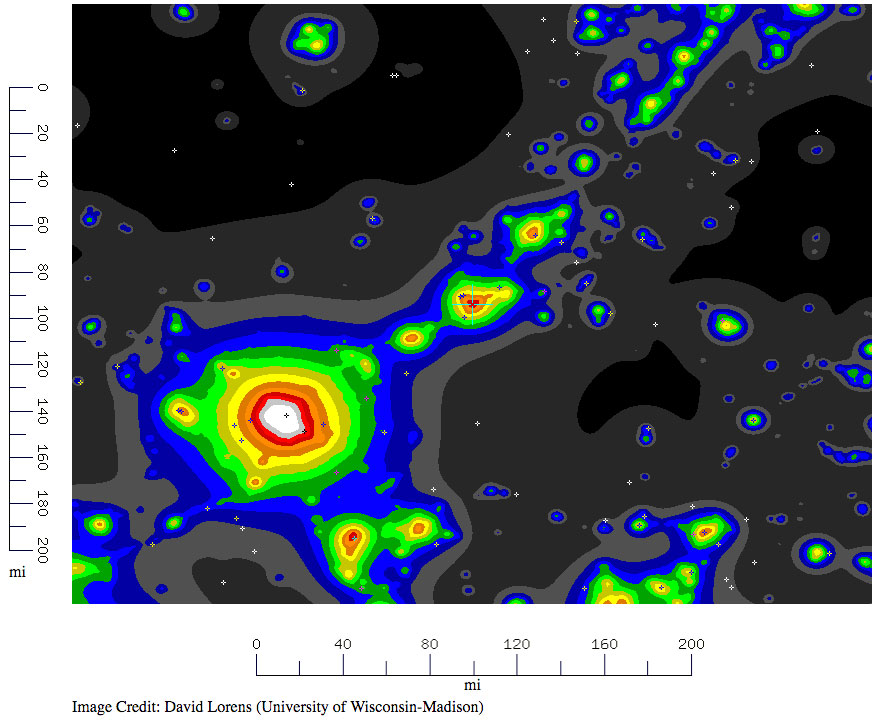
Light Pollution Map for St. George, Utah
Standard Exposure Settings
Here are some exposure settings for common apertures while taking night sky shots.
| Aperture | ISO | Exposure Time |
| f/1.4 | 800 | 30 seconds |
| f/2.0 | 1600 | 30 seconds |
| f/2.8 | 3200 | 30 seconds |
| f/4.0 | 6400 | 30 seconds |
| f/5.6 | 12800 | 30 seconds |

Camera Crop Factor
Using a camera with a full frame sensor is ideal, but here are the crop factors for popular SLR cameras.
- Consumer Canon = 1.6
- Consumer Nikon = 1.5
- Full frame camera = 1
Zoom Levels and Star trail lengths
45 minutes to 1 hour is a good minimum time length for shooting a star trails photo. Using wider lens (14mm) makes the stars appear to move less.
10 minutes will show much shorter star trails, but it depends on what effect you desire.
Rule of 500 or 600 for minimal star trails
Shooting the night sky as it is can produce stunning results, but streaking stars can ruin a milky way photograph. This rule will help you determine the maximum exposure time for minimal star trails.
Determine your FOV (field of view)
- 18mm multiplied by Nikon Crop (1.5) = 27mm FOV
- 18mm multiplied by Canon Crop (1.6) = 28.8mm FOV
- 18mm multiplied by Full frame (1) = 18mm FOV
- 14mm multiplied by Full frame (1)= 14mm FOV
Convert to exposure time
- 500 / 27mm = 18.5 seconds
- 500 / 28.8mm = 17.36 seconds
- 500 / 18mm = 27.78 seconds
- 500 / 14mm = 35.71 seconds
Focus is Key
The best method is to set your focus before you go shooting.
Another method to double check your focus is to:
- Set the ISO very high.
- Shoot one frame (photograph).
- Zoom-in with your display to see if it is in focus.
- Repeat until you are happy with the focus.
Shooting the Milky Way
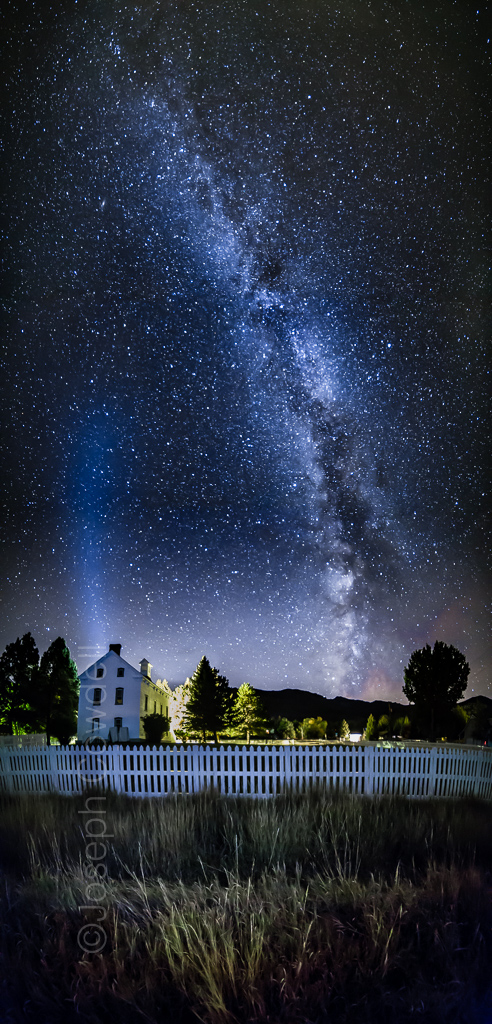
The Milky Way will look breathtaking if it is exposed correctly.
Download Stellarium to see where the milky way will be before you go shooting.
Interesting Foregrounds
Foregrounds are essential to creating an outstanding shot. You may want to bring a flashlight, strobe, or off-camera flash to help expose the foreground subject. Be sure to check the color of the light that comes from your light source, as it may throw off your color balance.
How to Make a Star Trails image with Photoshop
Milky Way and Night Photography Resources
Here is a list of software you can use to help pre-visualize your night photography:
Night Sky and Milky Way Planning Software and Websites
- Clear Dark Sky · Clear Sky Charts - It's the astronomer's forecast. It shows at a glance when, in the next 96 hours, we might expect clear and dark skies for one specific observing site.
- Stellarium - Stellarium is a free open source planetarium for your computer. It shows a realistic sky in 3D, just like what you see with the naked eye, binoculars, or a telescope.
- Photo Ephemeris - See how the light will fall on the land, day or night, for any location on earth
- PhotoPills is your photography planning app. It helps you PLAN your photos ahead of time… So you’re always at the right place at the right time to capture the best photo possible.
Star Tracking and Stacking Software
- Sequator - Sequator is free software that can track stars on multiple images, align stars and stack them.
- Starry Landscape Stacker - Starry Landscape Stacker makes it possible to produce landscape photographs taken at night that have both low noise and stars rendered as points. It does this by compositing several images taken in rapid succession, shifting the sky as needed to align the stars.
