There are a few steps in order to start your first print with your Monoprice MP Voxel.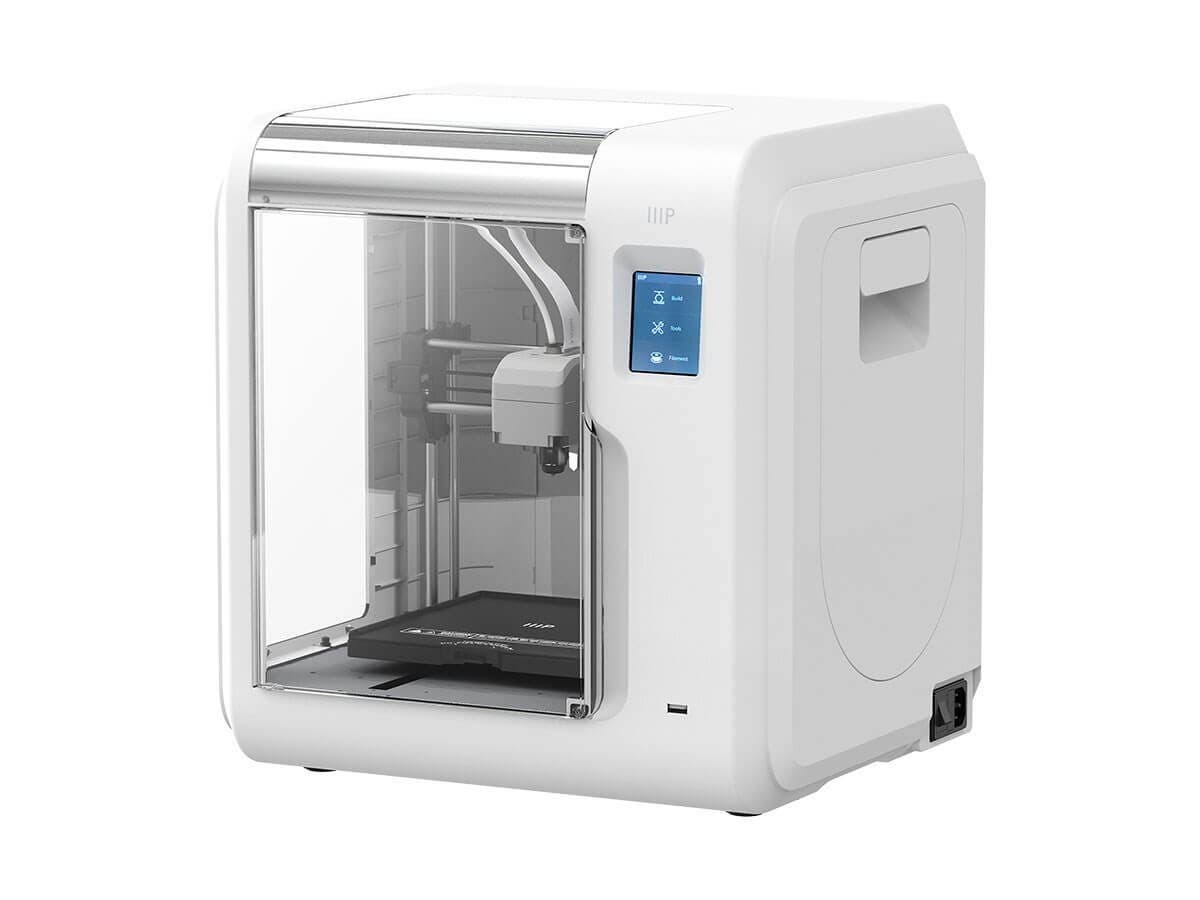
- Download the Monoprice MP FlashPrint software for your Monoprice MP Voxel.
- Install the MP FlashPrint software and connect to your MP Voxel.
- Load an STL file in MP FlashPrint by pressing CTRL+O and opening your STL file.
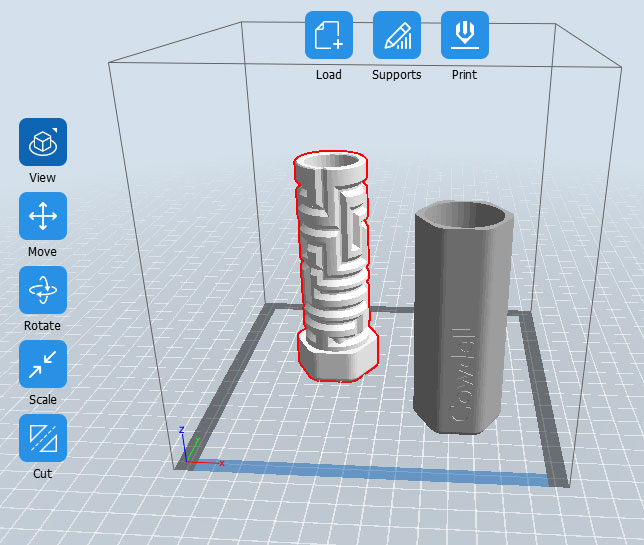
- Click the Print button in the top-middle area of MP Flashprint
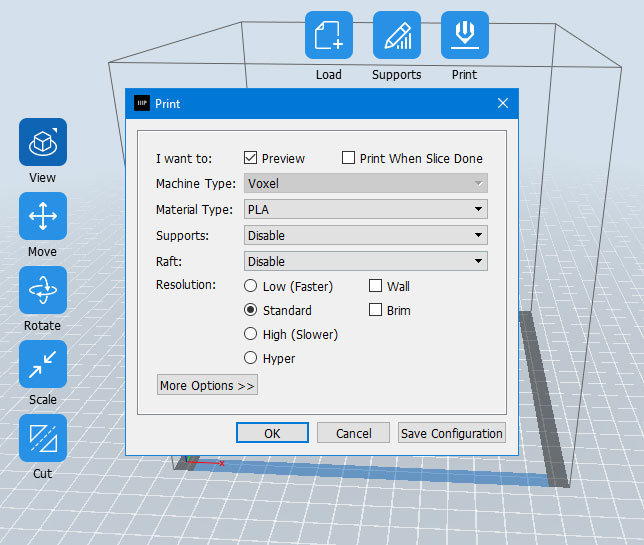
- Select the parameters for your print to see your estimated material use and time
- I want to (Preview, but NOT Print Slice When Done)
- Material type (PLA)
- Supports (disable)
- Raft (none)
- Resolution (standard)
- Click OK
It will show you the estimated weight and material used.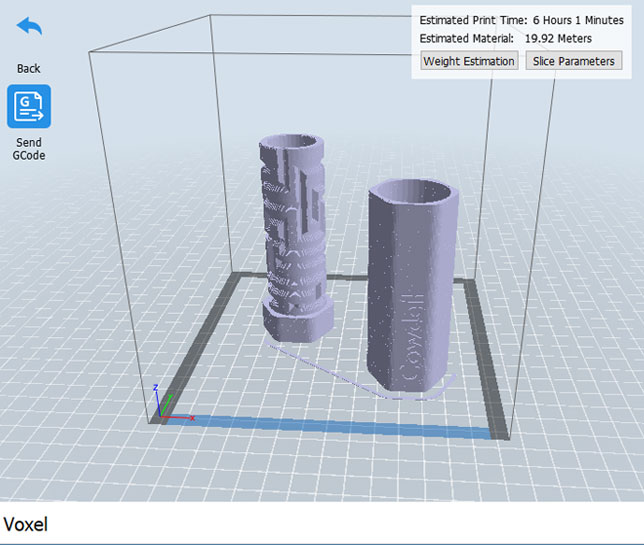
- Choose a name for your gx file
- Click Save
- Select the parameters for your print to see your estimated material use and time
- Send the file to your machine by clicking the Send GCode button in the top left.
How do I connect MP FlashPrint to my Monoprice MP Voxel?
- Make sure your MP Voxel is connected to your network. (Wifi or ethernet cable)
- Find your IP address on your MP Voxel
- Tap Tools, then About to see your IP address (Example: 192.168.1.106)
- Open your MP FlashPrint software on your computer
- Click Tools
- Click Machine Information
- Enter your MP Voxel IP address (Example: 192.168.1.106 and leave the port at 8899)
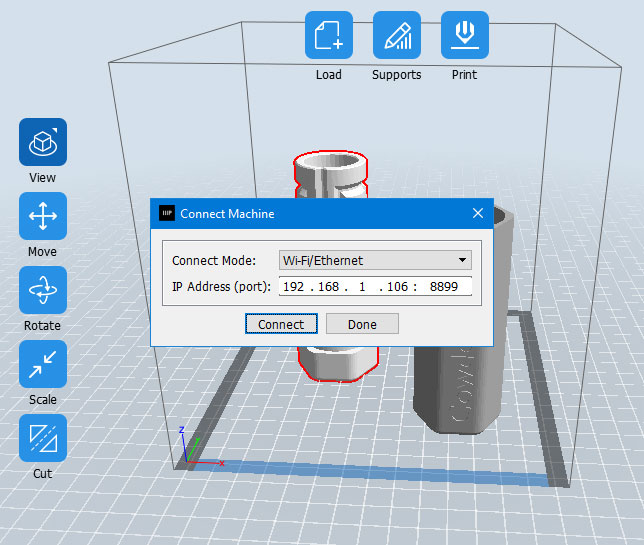
- Click Connect
- NICE! Your machine is connected and ready to print from your computer.
Where can I download the slicing software for my Monoprice MP Voxel?
At the bottom of the MP Voxel description page you will find all the software needed.
- MP Flashprint Software v4.0.0 for Windows® (64-bit) (Feb 05, 2020)
- MP Flashprint Software v4.0.0 for Windows® (32-bit) (Feb 05, 2020)
- MP Flashprint Software v4.0.0 for Mac® OS X® (Feb 05, 2020)
- Firmware Update v2.5.2 (Feb 05, 2020)
