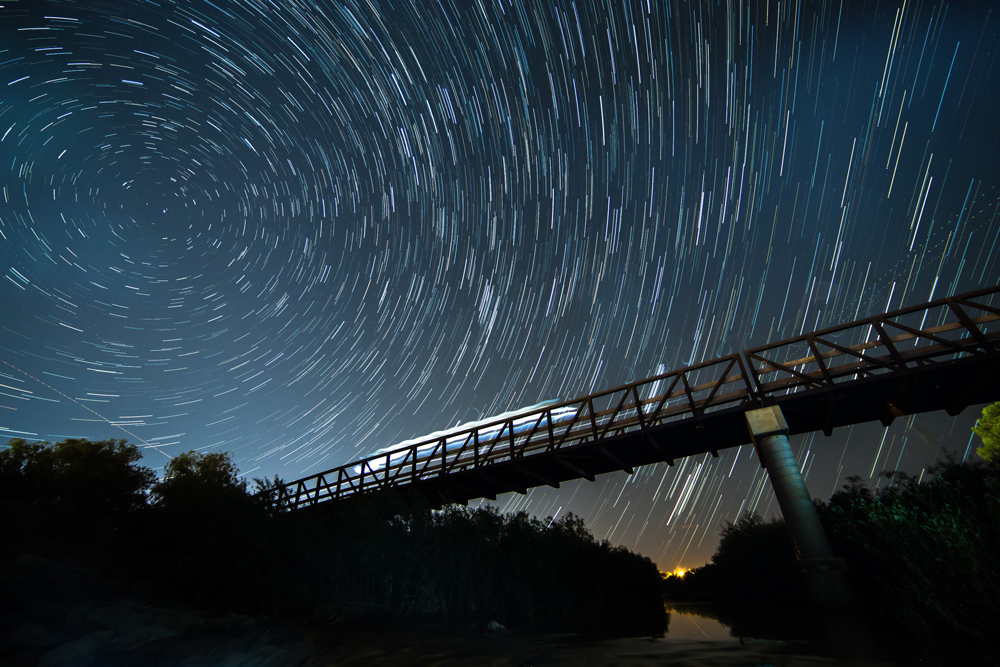
Here is the final image stacked that I stacked 50 images in Adobe Photoshop.
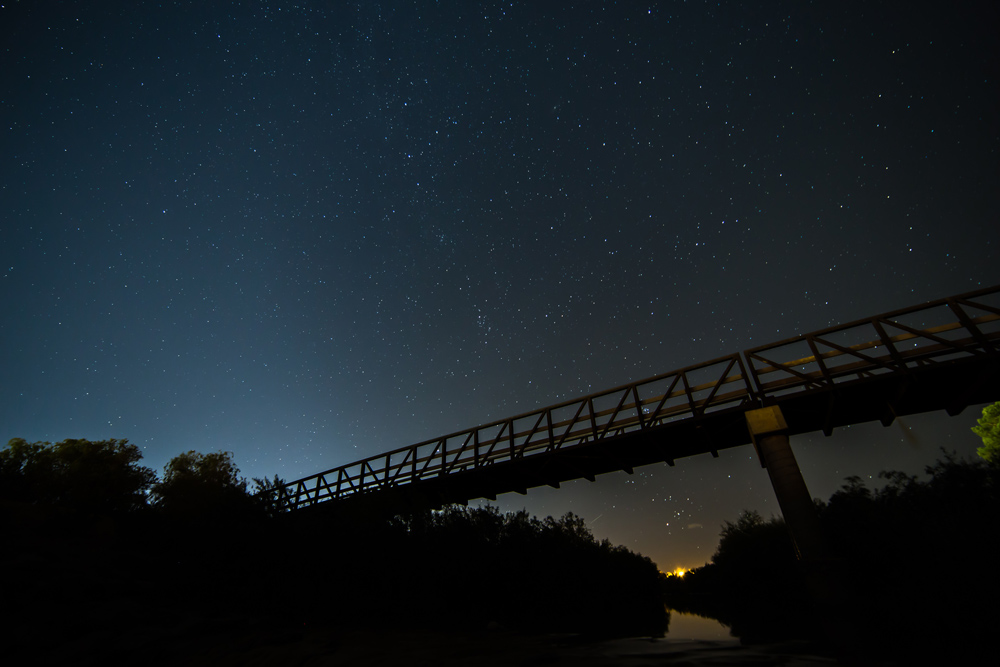
After shooting all the photographs for your star trails image. You should do the following in Adobe Photoshop:
- Export all your pictures to JPEGs (in case you shot in raw)
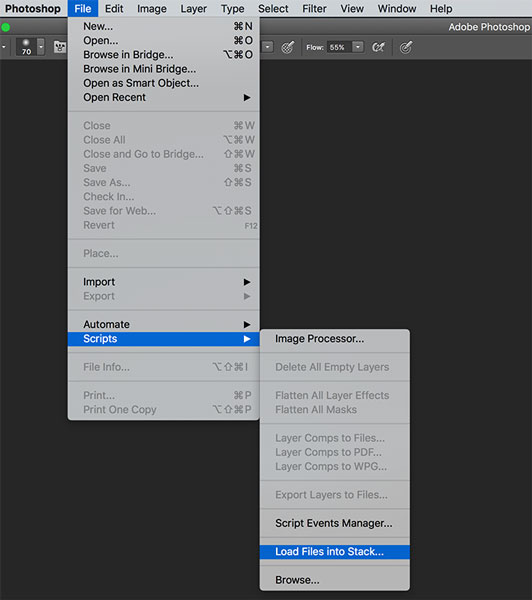
- Open Photoshop

- Click File
- Click Scripts
- Choose Load files into stack
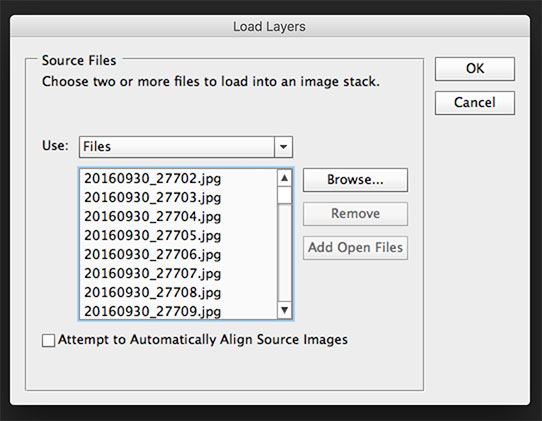
- Click Browse and select all your images
- Be sure to uncheck: align all images
- Click OK
This will create a Photoshop document with each image on its own layer. - Select all the layers in your Photoshop document.
- Click the top layer
- Scroll to the bottom of the list
- Hold shift and click the bottom layer
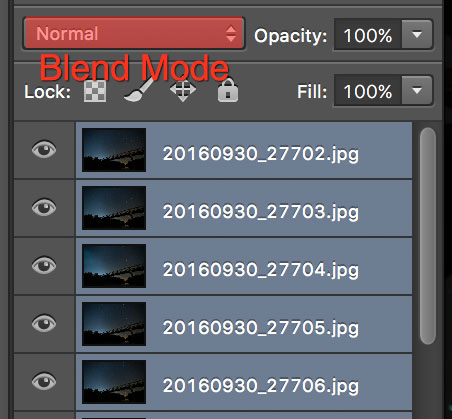
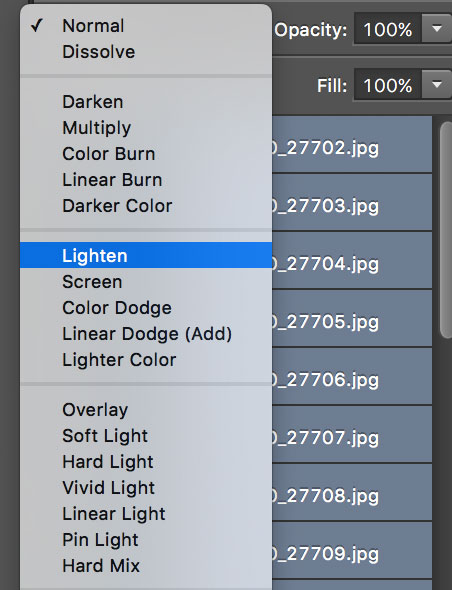
- Change the layer blending mode to Lighten
- Save your file

This image is just an example, and it was shot near the city of St. George, Utah, so there is light pollution. See how to shoot star photos and night photography for tips on how to reduce this. This image was made from fifty 30-second exposure photographs. It took approximately 25 minutes to shoot all of these.
Optional Enhancements
Mask specific parts of the top layer and set it to normal blending mode if needed.
